Forming and Topping your Pizza
To use the dough, turn it out onto a floured surface and to shape your pizza. This recipe will make one large pizza, or you can cut it into smaller balls to make 2 individual pizzas. If you divide the dough, either do it before the rise (each one rising in separate bowls) or if you do it at the end, after cutting with a bench scraper, form the dough balls back into ball shapes. Let them rest a few minutes before shaping your pizzas.
There are many ways to shape a pizza. If you want a really thin crust you can use a floured rolling pin–a simple log shaped one is best to ensure an even thickness. To make it easier for you, you can shape your pizza on a sheet of parchment paper and then when done, slide your peel under the paper for topping off. I tend to shape it on a floured surface, then transfer by hand to my peel which has a sheet of parchment covering it.
A wood surface gives you “grip” for shaping pizza dough. Marble, granite or Formica surfaces can make the dough stick. I use a bread board that sits on top of your counter.
Don’t forget your best tools–hands. I mainly use my hands when shaping pizza. Since I’m really making a more delicate, artisanal style pizza dough, you really can’t throw it like in a commercial pizzeria. First, make sure you have a decent amount of flour on the workbench. Now, toss more flour on top of the dough before you start. Basically, you want the dough to have enough flour under it to slide easily when working it. You also to flour your hands so your hands don’t stick to the dough.
Basically, I tend to leave a slight mound in the middle, then press with the sides of my hands to form a thicker crust edge (I like a thick crust on the perimeter of a pizza). Pat the middle with your flat hand, or use your finger tips (all of them) to push down the high spots of the dough until you make the diameter the size you need. As you press, push outward to where you need more width. If the dough won’t move or slide, lift up and dust some more flour underneath.
If you make a hole, tear a little dough off the side and patch it. Next,–if you aren’t using the parchment paper underneath–gently lift one side of the dough round and lift it on top of your forearm. Then with the other hand, help to lift and slide it onto your pizza peel on top of the waiting parchment. Pull the edges of the dough to fill your peel or into a circle, whichever you prefer. Rustic shapes are fine too.
By the way, instead of using parchment, you can also sprinkle a good amount of coarse corn meal on the peel and put the raw shaped pizza on top of that. The corn meal acts like little ball bearings making it easy to slide your pizza onto the stone. I’ve switched to using parchment simply because it’s a bit neater… some corn meal winds up at the bottom of the oven and tends to burn, messing up both pizza stone and the oven.
I never would recommend topping off the dough while it’s still on the work counter. I’ve even seen TV chefs do this and then have some trouble when trying to slide a metal peel underneath, pulling and tugging the loaded, wet dough. Just have all your toppings ready beforehand, place your dough on your parchment lined peel, and top-away! You can use my Basic Pizza Sauce Recipe or any jar sauce, as long as it’s not too thick. Pizza sauces tend to be on the watery side. (Click Here for our Basic Pizza Sauce Recipe.)
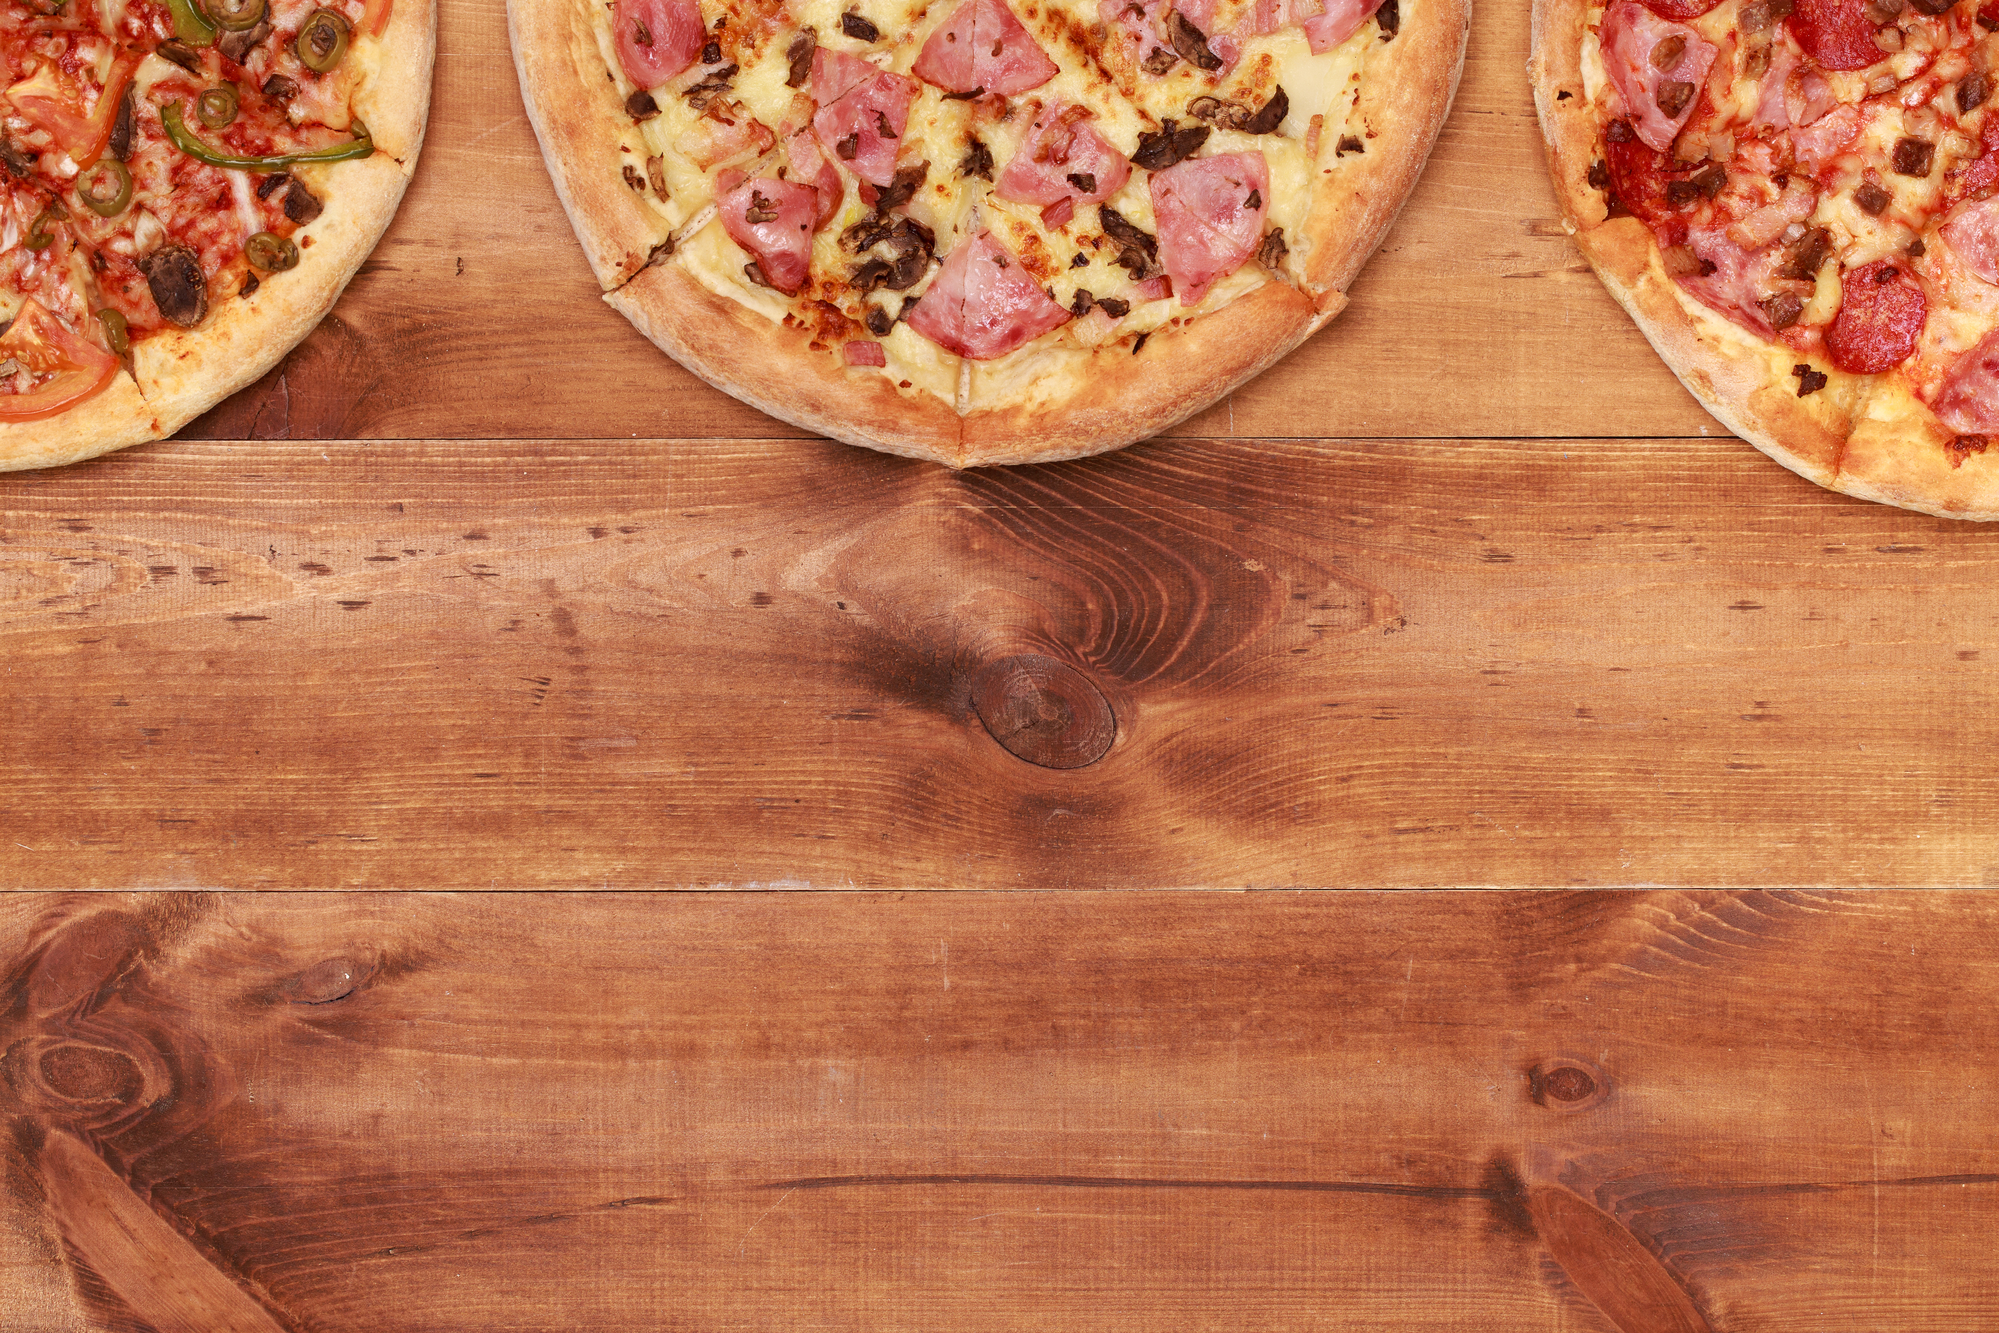
As for the rest, live it up and experiment. If you want a simple Pizza Margherita, all you need is sauce, basil leaves and some mozzarella, with perhaps a drizzle of extra virgin olive oil and sprinkle of oregano (we grow our own in summer). We love olives (buy pitted and just squish them in your fingers and drop them on), smoked or Virginia ham, prosciutto, speck (Italian smoke-cured prosciutto), leftover bacon from Sunday breakfast, paper thin (cut on my mandoline) slices of dry sausage or zucchini, caramelized onions, fresh heirloom tomatoes, smoked turkey, home made meatballs… whatever suits your taste.
After Thanksgiving we use leftovers for a Thanksgiving Day Pizza–turkey, stuffing, cheesy mashed potatoes, fresh cranberries and for the sauce, turkey gravy. Recently, I even made a Chicken Marsala pizza. Lisa likes a white pizza–easy to do (without red sauce), smeared with ricotta cheese (she makes it fresh) and drizzled with olive oil finished with grated Romano and oregano.
Get it in the oven ASAP or it could stick to your parchment or peel (making it difficult to slide off into the oven), or the wet ingredients might soak too far into the dough.
If your oven is around 510-515 degrees a pizza should cook between 3 and 5 minutes. Use a metal spatula to check under your crust to make sure it’s darkened. After the timer goes off, use the peel to slide under the parchment and pizza, pull it out and transfer to a bread board or serving pan. Use a pizza wheel or even a kitchen shears to cut your slices. Or, if you’ve made thin crust individual pizzas, try eating them Napoletano style… fold them in half or quarters and eat it like a sandwich.
