Proofing the Yeast
1 – 1/4 cups warm water (about 115 degrees F)
1 packet instant or “instant” yeast (or 1 tablespoon packaged/dry yeast)
1 tablespoon honey or sugar
Oil up a separate bowl (use olive oil) and set aside (this is to rise the dough in later). In the meantime, get your mixer ready. I use a standard mixer with a dough hook, but you can also use a large capacity food processor with a dough blade (metal blades will cause the gluten development to happen to fast, making it rubbery). Now is a good time to place your pizza stone in the oven on the center rack, and preheat your oven as hot as it can go… around 515 degrees F for American ovens (this is only for pizzas baked directly on the stone. For pan pizzas, the rule is low and slow… less heat, more time). Remember, your stone needs to preheat along with your oven. I’d recommend letting it preheat for a minimum of one hour before putting a pizza in the oven. If you are doing a second, slow rise (see below) then wait a bit before preheating.
1-1/2 cups all-purpose flour (all-purpose is needed to create a more crisp crust)
1 – cup bread flour (bread flour makes pizza more bread-like, I recommend King Arthur’s)
1 – tablespoon sugar
1 – teaspoon salt
1- tablespoon extra virgin olive oil
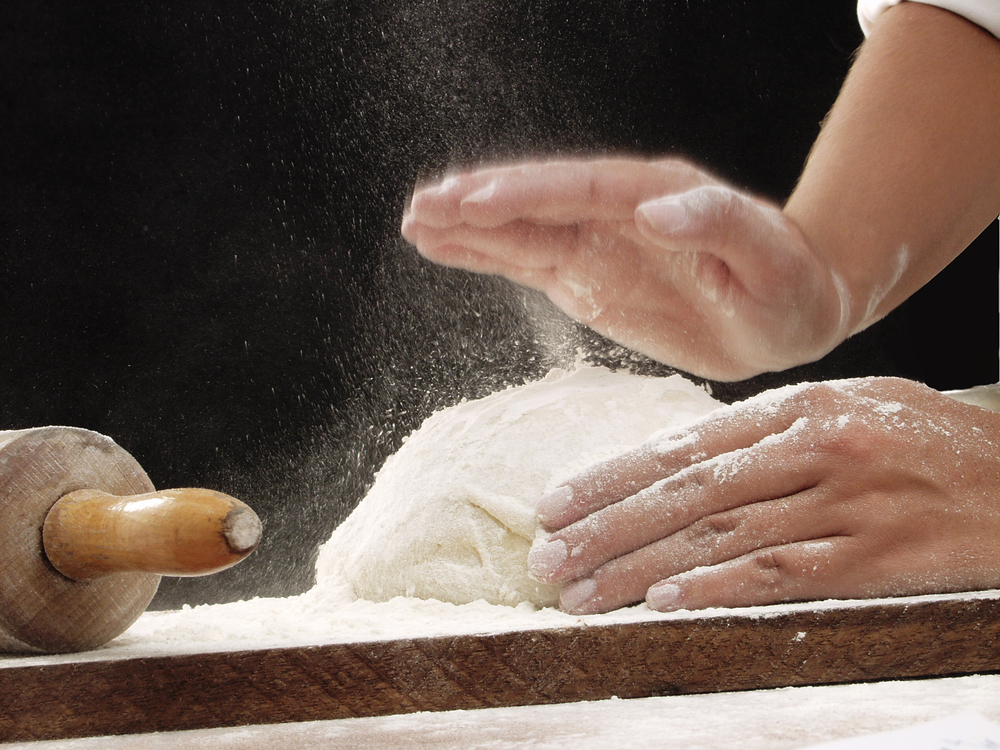
While your yeast is proofing, place the one cup of bread flour, sugarand the salt in the mixer bowl and mix dry for a few seconds. Once your yeast looks foamy (no more than 10-15 minutes or so) pour it in with the flour and mix on a slow speed setting. Scrape down the sides of the bowl, if needed. During this first mixing, add the olive oil. Once the dry flour mixes with the yeast into a slurry, add one (1) cup of the all-purpose flour. Mix and then scrape until the dryness is gone and then add another 1/4 cup of all-purpose flour until the dough starts to form a slightly sticky ball that will climb up the dough hook. If it looks too wet or sticks to the sides of the bowl, add another 1/4 cup of all-purpose flour. You want to mix the dough until it separates from the bowl–but it should still be a bit sticky. Go slow with adding more flour. A dough that’s too dry will make a tough, leathery crust. You want it soft and a bit sticky. If the dough is sticking to the sides of the bowl a little, you can dust the sides of the dough ball with a little flour, then use a spatula to separate it from the sides before turning it out onto your work surface. Flour your work surface in an area about the size of the pizza you are making.
Some say you must knead the dough for 5 or even 10 minutes or more, but I think this produces too much stringy gluten–the glue in dough–and causes the dough to be tough. Gluten development happens even without much kneading. Besides, I’d rather be eating my pizza sooner rather than later.
Tuck in or pinch together the bottom of your dough round and make it into a flat round shape, then put it in the oiled bowl to rise. Coat both sides–there should be oil on top of the dough round and the bottom of your rising bowl. Cover it with plastic wrap and let it rise at room temperature for 45 minutes. On dry days, I usually help along the humidity a bit and lay a damp paper towel on top of the plastic wrap. You could even use a damp cotton chef’s towel.
There are two ways to proceed now. One is the quick way–a single rise–the other is longer… a double rise. Typically, for our weekly, Saturday night pizza, I’ll do a short, single rise, unless I’m trying something a bit different:
- 45 minutes at room temperature, then punch down the dough gently and start forming the pizza.
If I’m trying to make a special artisan pizza or focaccia recipe I’ll do a double rise:
- 45 minutes at room temperature, then punch the dough down gently and let it rise a second time for 1-2 hours (or even overnight) in the fridge. Take it out, let it rest on your workbench for 5 minutes or so (to relax the gluten… this makes it less springy and makes it easy to form it out to a pizza shape). Then you can form your pizza.
There is also another type of rise for deep dish and pan pizzas… where I do a first rise at room temp, then form the dough to fit into the deep dish pan and let it rise again in the pan at room temp. More on that when I get to my pan pizza recipes.
The longer the rise, the more complex flavor develops in the crust… something I think is unnecessary for a quick “get dinner on the table” pizza.
